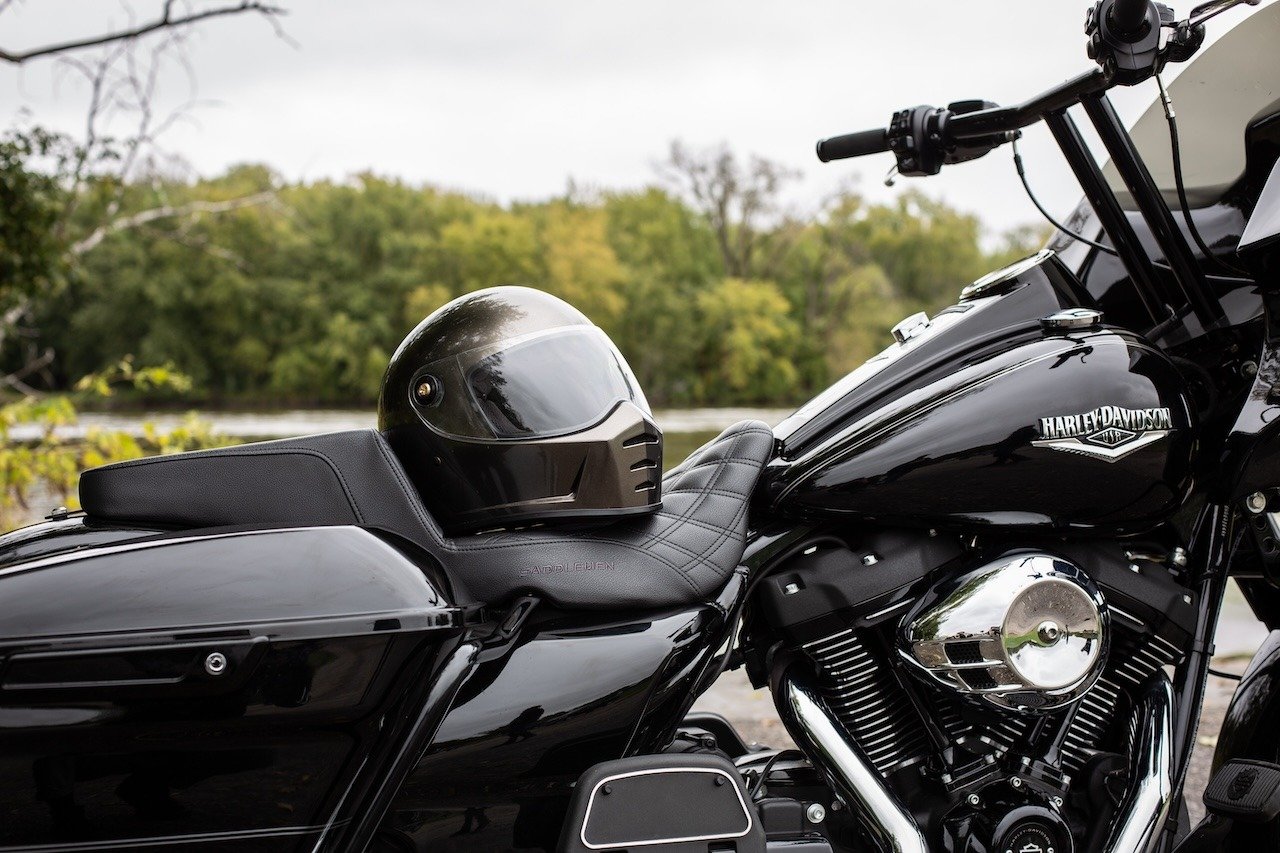
After a long winter, the wait is finally over. Winter storage can be tough on your motorcycle. Properly reviving your bike for the season can avoid breakdowns, costly repairs, and safety hazards. This guide will walk you through critical steps to get your ride in top form so you can experience the full joy and freedom of the open road.
Reasons to Check Your Bike Thoroughly After Winter Storage
Riding a motorcycle that hasn't had a proper post-winter checkup is a gamble, and nobody wants to play those odds on the road. Inspecting your bike after winter is a proactive measure that promotes safety, prevents damage, enhances performance, ensures reliability, and helps you comply with legal requirements. It's an essential aspect of motorcycle ownership and riding.Start Mo
Here are some of the main reasons why you should always inspect your bike after winter or any prolonged period of storage or lack of use.
Safety
Ensuring that your bike is in good condition before riding is crucial for your safety and the safety of others on the road. A thorough inspection helps identify any potential issues or malfunctions that could lead to accidents or breakdowns.
Damage prevention
During the winter months, your bike may have been exposed to harsh weather conditions or stored in less-than-ideal environments. Inspecting your bike gives you a chance to identify any damage or deterioration that may have occurred during this time, like corrosion, rust, or cracked/worn components. Addressing these issues promptly can prevent further damage and costly repairs.
Optimal performance
A properly maintained bike performs better and is simply more enjoyable to ride. Inspecting key components like brakes, tires, fluids, and electrical systems ensures that everything is functioning correctly, maximizing performance, safety, and responsiveness.
Reliability
Regular maintenance and inspections contribute to your bike’s overall reliability. By identifying and addressing potential problems early on, you reduce the risk of unexpected breakdowns or failures while riding. Overall, you’ll get to enjoy your bike for longer than you might otherwise.
How to Start Your Motorcycle After Winter in 11 Steps
Ready to roll once the sun comes out? Before you hit the open road, inspect your bike by following these 11 steps.
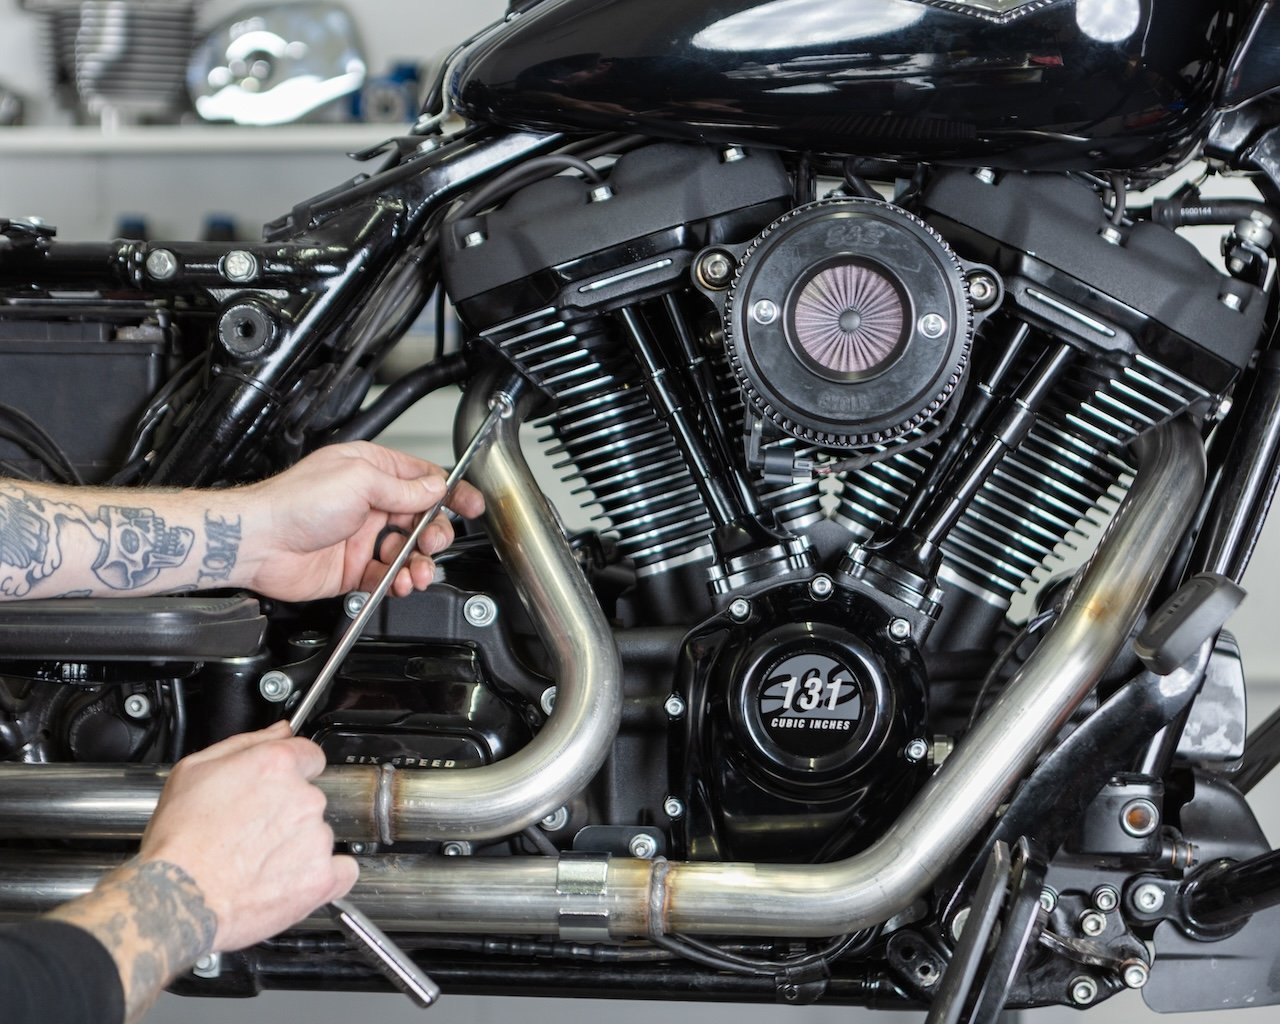
1. Inspect your bike.
Before you fire up that engine, give your bike a good once-over. Look for anything out of the ordinary – winter storage can leave some unexpected surprises. If you live in a place with plenty of snow, make sure no moisture or salt has built up on the exterior or in the engine. Check for leaks, loose connections, or any components that may need attention.
2. Check the fuel system.
Check fuel lines and connections for any signs of damage or leaks. Winter is open season for critters to turn your fuel lines into chew toys, so take a good look.
If you can smell gasoline outside of your motorcycle, that’s a good indication that there might be a leak. If your motorcycle is equipped with a fuel pump, inspect it for any signs of leakage around the pump housing or connections. Test the fuel pump by turning on the ignition (without starting the engine) and listening for any unusual noises coming from the pump.
If you drained the fuel tank before winterizing, refill it with fresh gasoline. If you added fuel stabilizer before storage, make sure it's been properly distributed throughout the fuel system. Look for any signs of separation, like distinct layers or a cloudy appearance. Properly mixed fuel with stabilizer should appear uniform in color and consistency. If you notice any signs of separation, gently agitate the fuel tank by rocking the motorcycle back and forth or by stirring the fuel with a clean tool.
3. Inspect the air filter.
You’ll definitely want to give your air filter a check before taking your bike out of storage. Mice love to make a cozy winter home in motorcycle air filters. Carefully remove the fasteners or screws securing the air filter cover in place. Once the air filter cover is removed, take out the air filter from its housing and inspect the filter for any signs of dirt, dust, debris, or damage. Pay close attention to the filter material and ensure that it's not torn or deteriorated.
If the air filter is only lightly dirty or dusty, you can clean it using compressed air or by gently tapping it to dislodge any loose debris. Avoid using water or harsh cleaning solvents, as these can damage the filter material. If the air filter is heavily clogged or damaged, it's best to replace it with a new one.
While the air filter is removed, take the opportunity to inspect the air filter housing for any signs of dirt, debris, or contaminants. Clean the housing if necessary to ensure that it's free from any obstructions that could affect airflow to the engine.
Shop air filters from S&S Cycle →
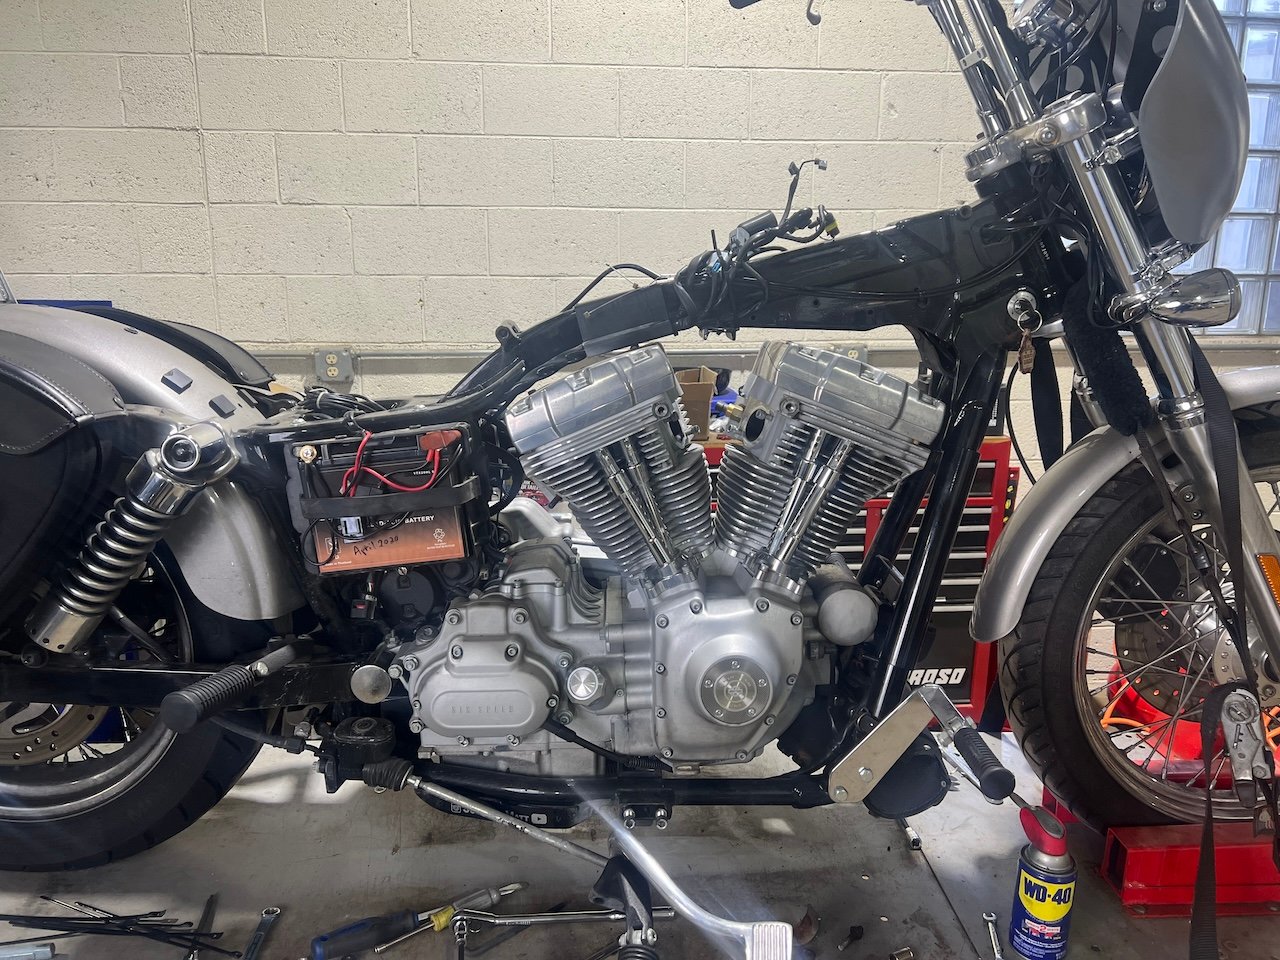
4. Inspect the battery.
Cold weather is particularly hard on your motorcycle’s battery. Hooking the motorcycle battery up to a flow charger in a temperature-controlled environment is the most ideal way to maintain it over the winter, but not everyone has that option.
To check the bike battery, start by visually inspecting it for any signs of damage or corrosion. Look for cracks, leaks, or swelling on the battery case. Check the battery terminals for corrosion or buildup, which can interfere with proper electrical connections. If there's corrosion or buildup on the battery terminals, disconnect the battery and clean the terminals using a mixture of baking soda and water or a dedicated battery terminal cleaner. Use a wire brush or terminal cleaning tool to scrub away the corrosion until the terminals are clean and shiny.
Once cleaned and hooked back up, use a voltmeter or multimeter to check the voltage of the battery. A fully charged battery should have a voltage reading of around 12.6 volts or higher. If the voltage is significantly lower, the battery may need to be recharged or replaced. If you have access to a battery load tester, you can perform a load test to check the battery's capacity to hold a charge under load. Follow the manufacturer's instructions for using the load tester and interpret the results accordingly.
5. Check the tires.
The fluctuation in temperature will cause your bike’s tires to lose pressure over time, even if they were perfectly filled before storage. Use a quality tire pressure gauge to check the inflation pressure of both tires, referring to the manufacturer's recommendations for the correct tire pressure of your specific bike. Inflate the tires to the recommended pressure if they are underinflated. Avoid overinflating the tires, as this can affect handling and traction.
You’ll also want to look for any cracks, flat spots, or signs of dry rot, especially if your motorcycle has been stored for an extended period without being moved. Flat spots can develop from prolonged contact with the ground and may affect ride quality. If you notice significant flat spots, it’s time to consider a fresh set of tires for the season.
6. Inspect the brakes.
Don't take a chance on those brakes. Check your discs or drums for warping, corrosion, or uneven wear. If you notice any of these issues, consider replacing those specific parts or at least performing an additional brake test to determine the level of wear.
You’ll also need to check the level of brake fluid in the master cylinder reservoirs for the front and rear brakes. Ensure that the fluid level is within the recommended range, available in your service manual. Inspect the condition of the brake fluid. Fresh brake fluid should be clear or slightly amber in color. If the fluid appears dark, cloudy, or contaminated, it may need to be flushed and replaced. When replacing the fluid, be sure to use the correct type because all brake fluid is not created equal.
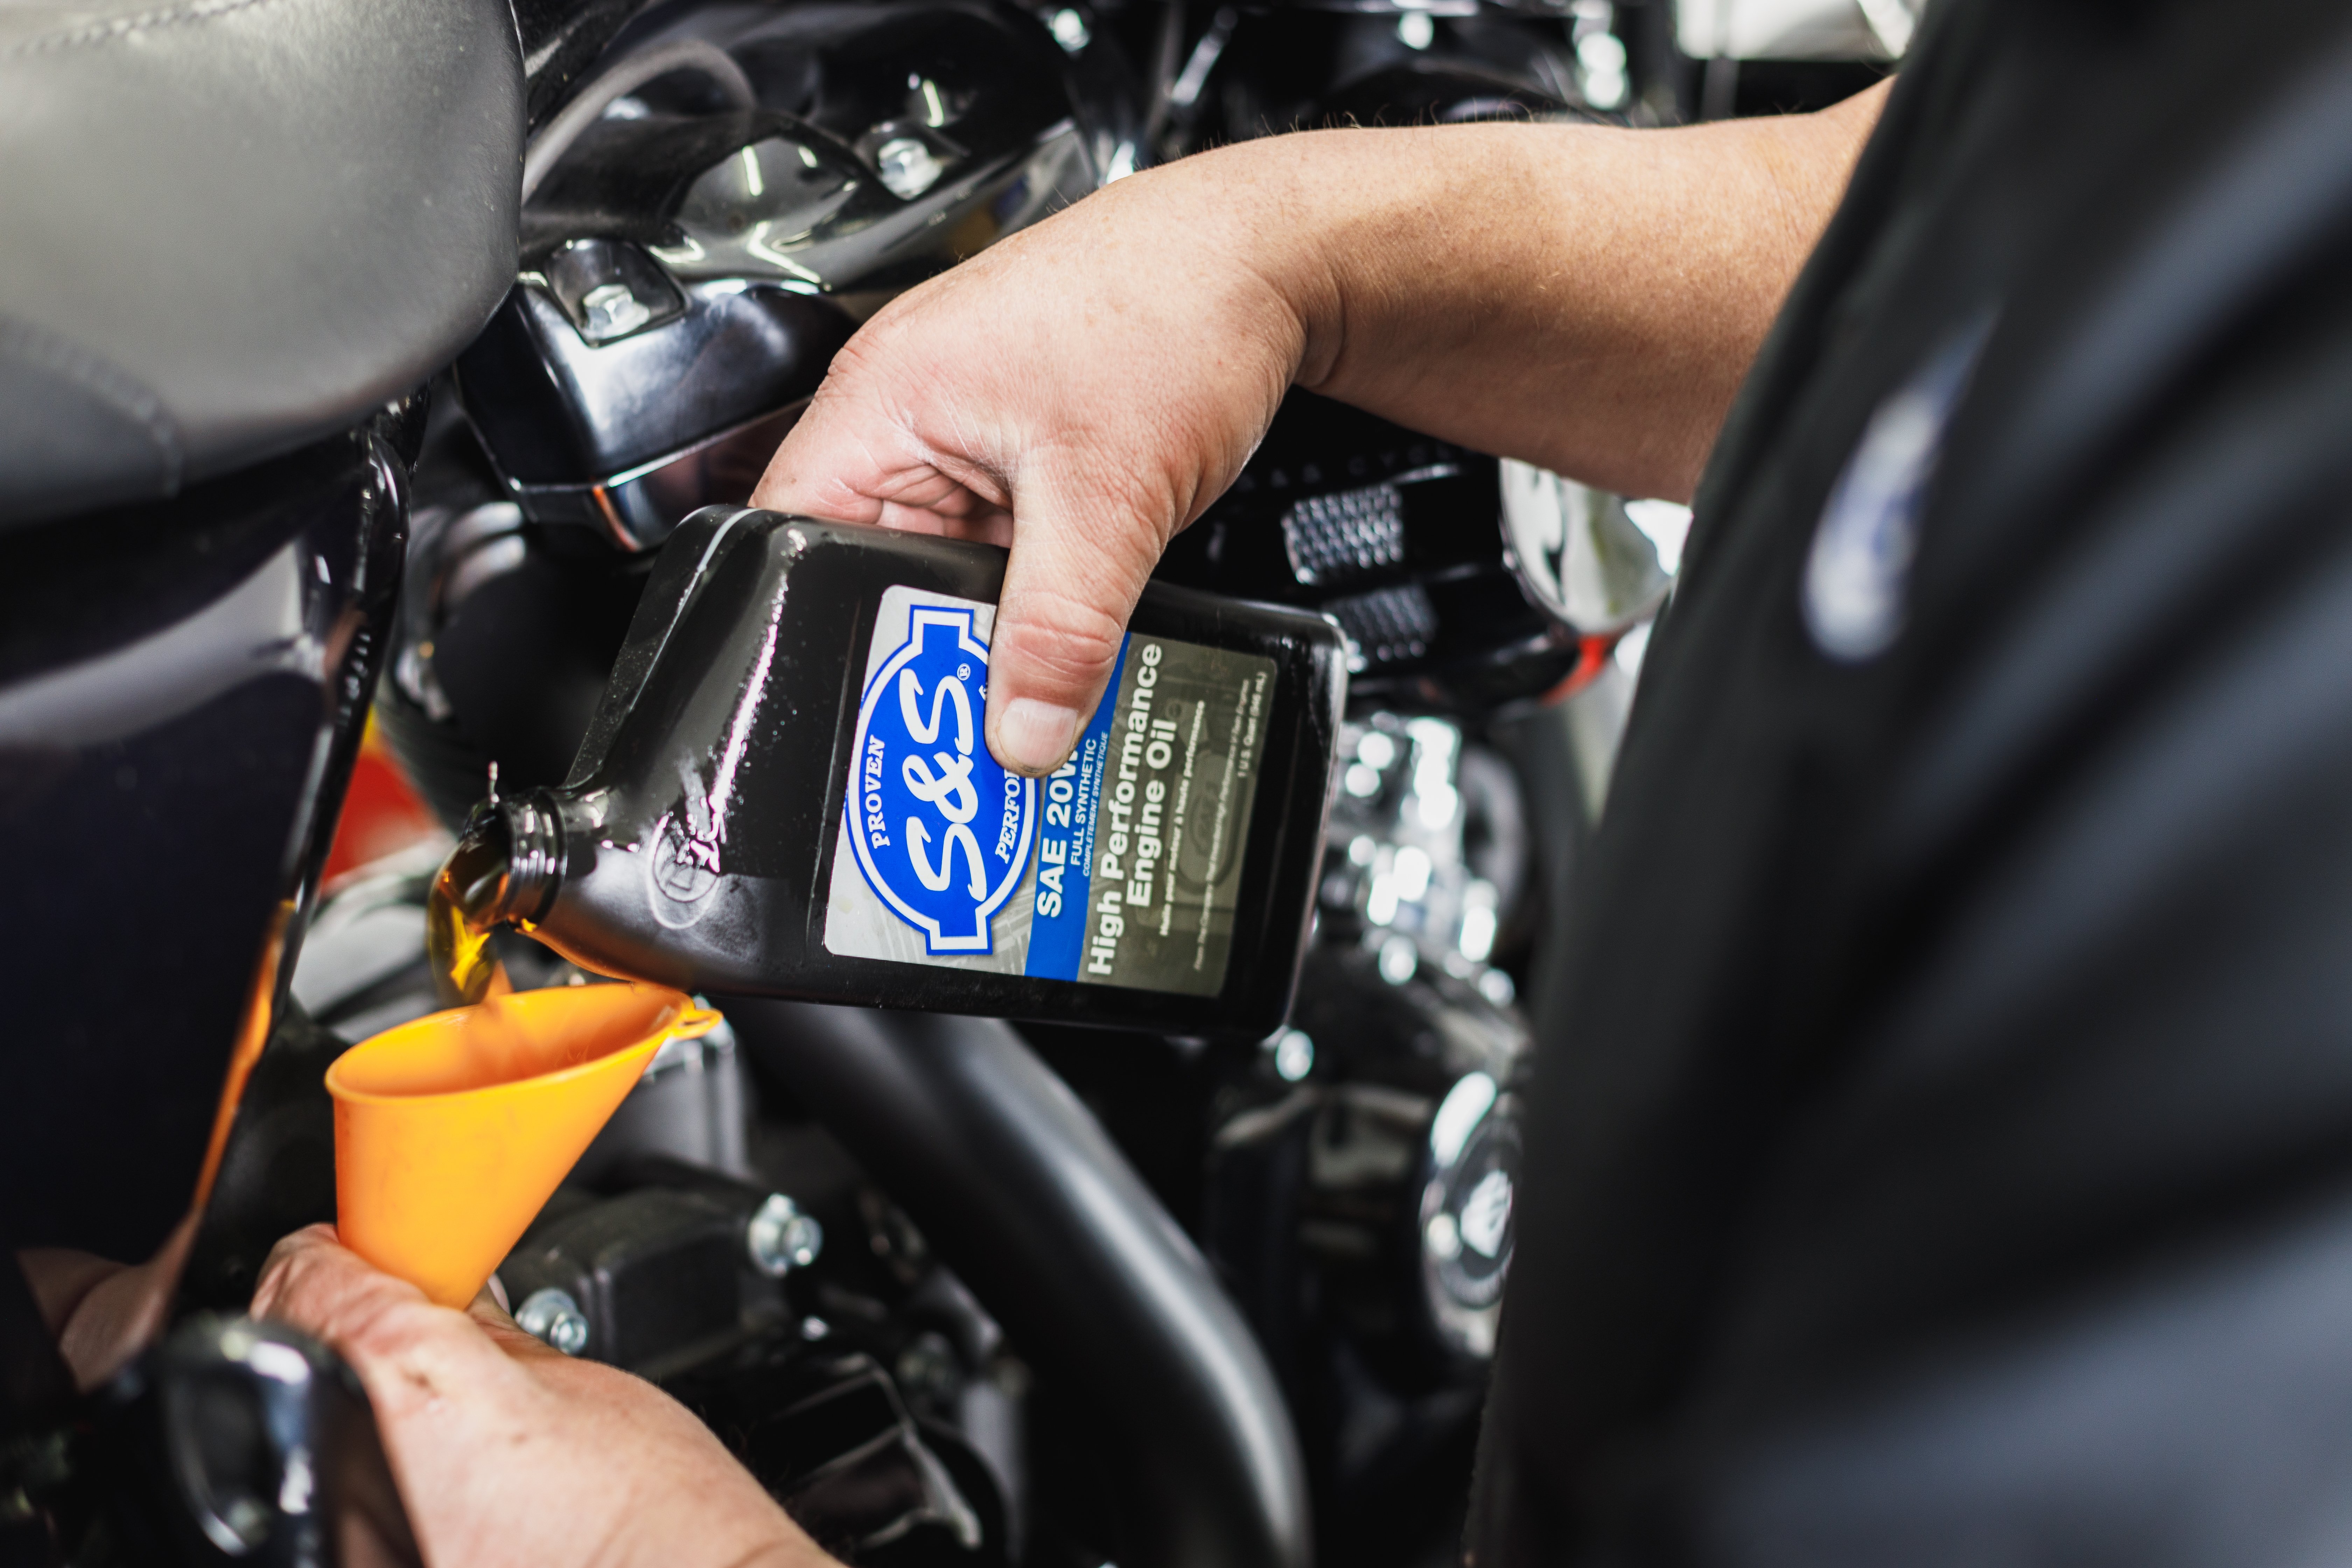
7. Check the oil.
Even when it's not running, oil can get sludgy and lose its effectiveness over the winter. Before checking the oil, start the engine and let it warm up for a few minutes. Warming up the engine helps to ensure that the oil is at its normal operating temperature and flows freely for an accurate reading. Once the engine is warmed up, turn your bike off again and check the oil level.
While inspecting the oil level, also examine the condition of the oil on the dipstick. Fresh oil should be transparent or amber in color. If the oil appears dark, gritty, milky, or has a burnt smell, it may be contaminated and need replacing.
If the oil is at a good level and still looks good, you should still plan to change the bike’s oil fairly soon after taking it out of storage, regardless of whether or not you changed it before storing it. Oil has a shelf life, even when it’s just sitting in the engine not being used, and needs to be changed regularly in order to keep your bike in top condition.
8. Check other fluids.
Fluids are your bike’s lifeblood. Inspect the coolant level in the radiator or coolant reservoir if your bike is equipped with one. Ensure that the coolant level is within the recommended range and that the coolant appears clean and free of debris. Top up the coolant, if necessary, with the recommended coolant mixture.
If your motorcycle has a chain drive, inspect the drive chain for proper tension and lubrication. Apply chain lubricant if necessary to ensure smooth operation and prevent premature wear. If you have a belt drive, inspect the belt for proper tension and also for any signs of abnormal or advanced wear such as scuffs, nicks, or tears in the belt. These can all be a signal that you have a larger problem on your hands. If your motorcycle has a shaft drive, check the oil level in the drive shaft housing and top up, if necessary, with the recommended oil.
If your motorcycle has a hydraulic clutch or hydraulic brakes, check the fluid level in the respective master cylinder reservoirs. Ensure that the fluid level is within the recommended range and that the fluid appears clean and free of air bubbles or contamination. Top up the fluid, if necessary, with the recommended type of hydraulic fluid.
9. Pre-start checks.
Before hitting that starter, you’ll need to test the operation of all switches and controls, including the ignition switch, engine kill switch, starter button, and handlebar controls. Ensure that the switches and controls move smoothly and that they engage and disengage properly.
Check the operation of all gauges and indicators on the instrument cluster, including the speedometer, tachometer, fuel gauge, and warning lights. Ensure that the gauges provide accurate readings and that all warning lights illuminate properly during startup.
Don’t forget to test all your bike lights, including the headlights (high and low beam), taillights, brake lights, turn signals, indicators, and any aftermarket lighting you may have added. Check that all lights are functioning properly without any flickering or dimming.
10. Start the engine.
It's the moment of truth! Take one last look in your exhaust to make sure no mice decided to make a nest, then fire up that engine, let it warm up nice and slow, and listen for any strange rattles or knocks. This allows the oil to circulate through the engine and lubricate critical components like pistons, cylinders, camshafts, and bearings. Running the engine also helps evaporate any moisture or condensation that may have accumulated in the engine or exhaust system during storage. This helps prevent corrosion and rust formation in the internal components and exhaust system.
This step also helps warm the engine to its normal operating temperature. This is especially important if the motorcycle has been stored in extremely cold conditions, as warming the engine helps improve fuel combustion efficiency, reduces engine wear, and ensures smoother performance.
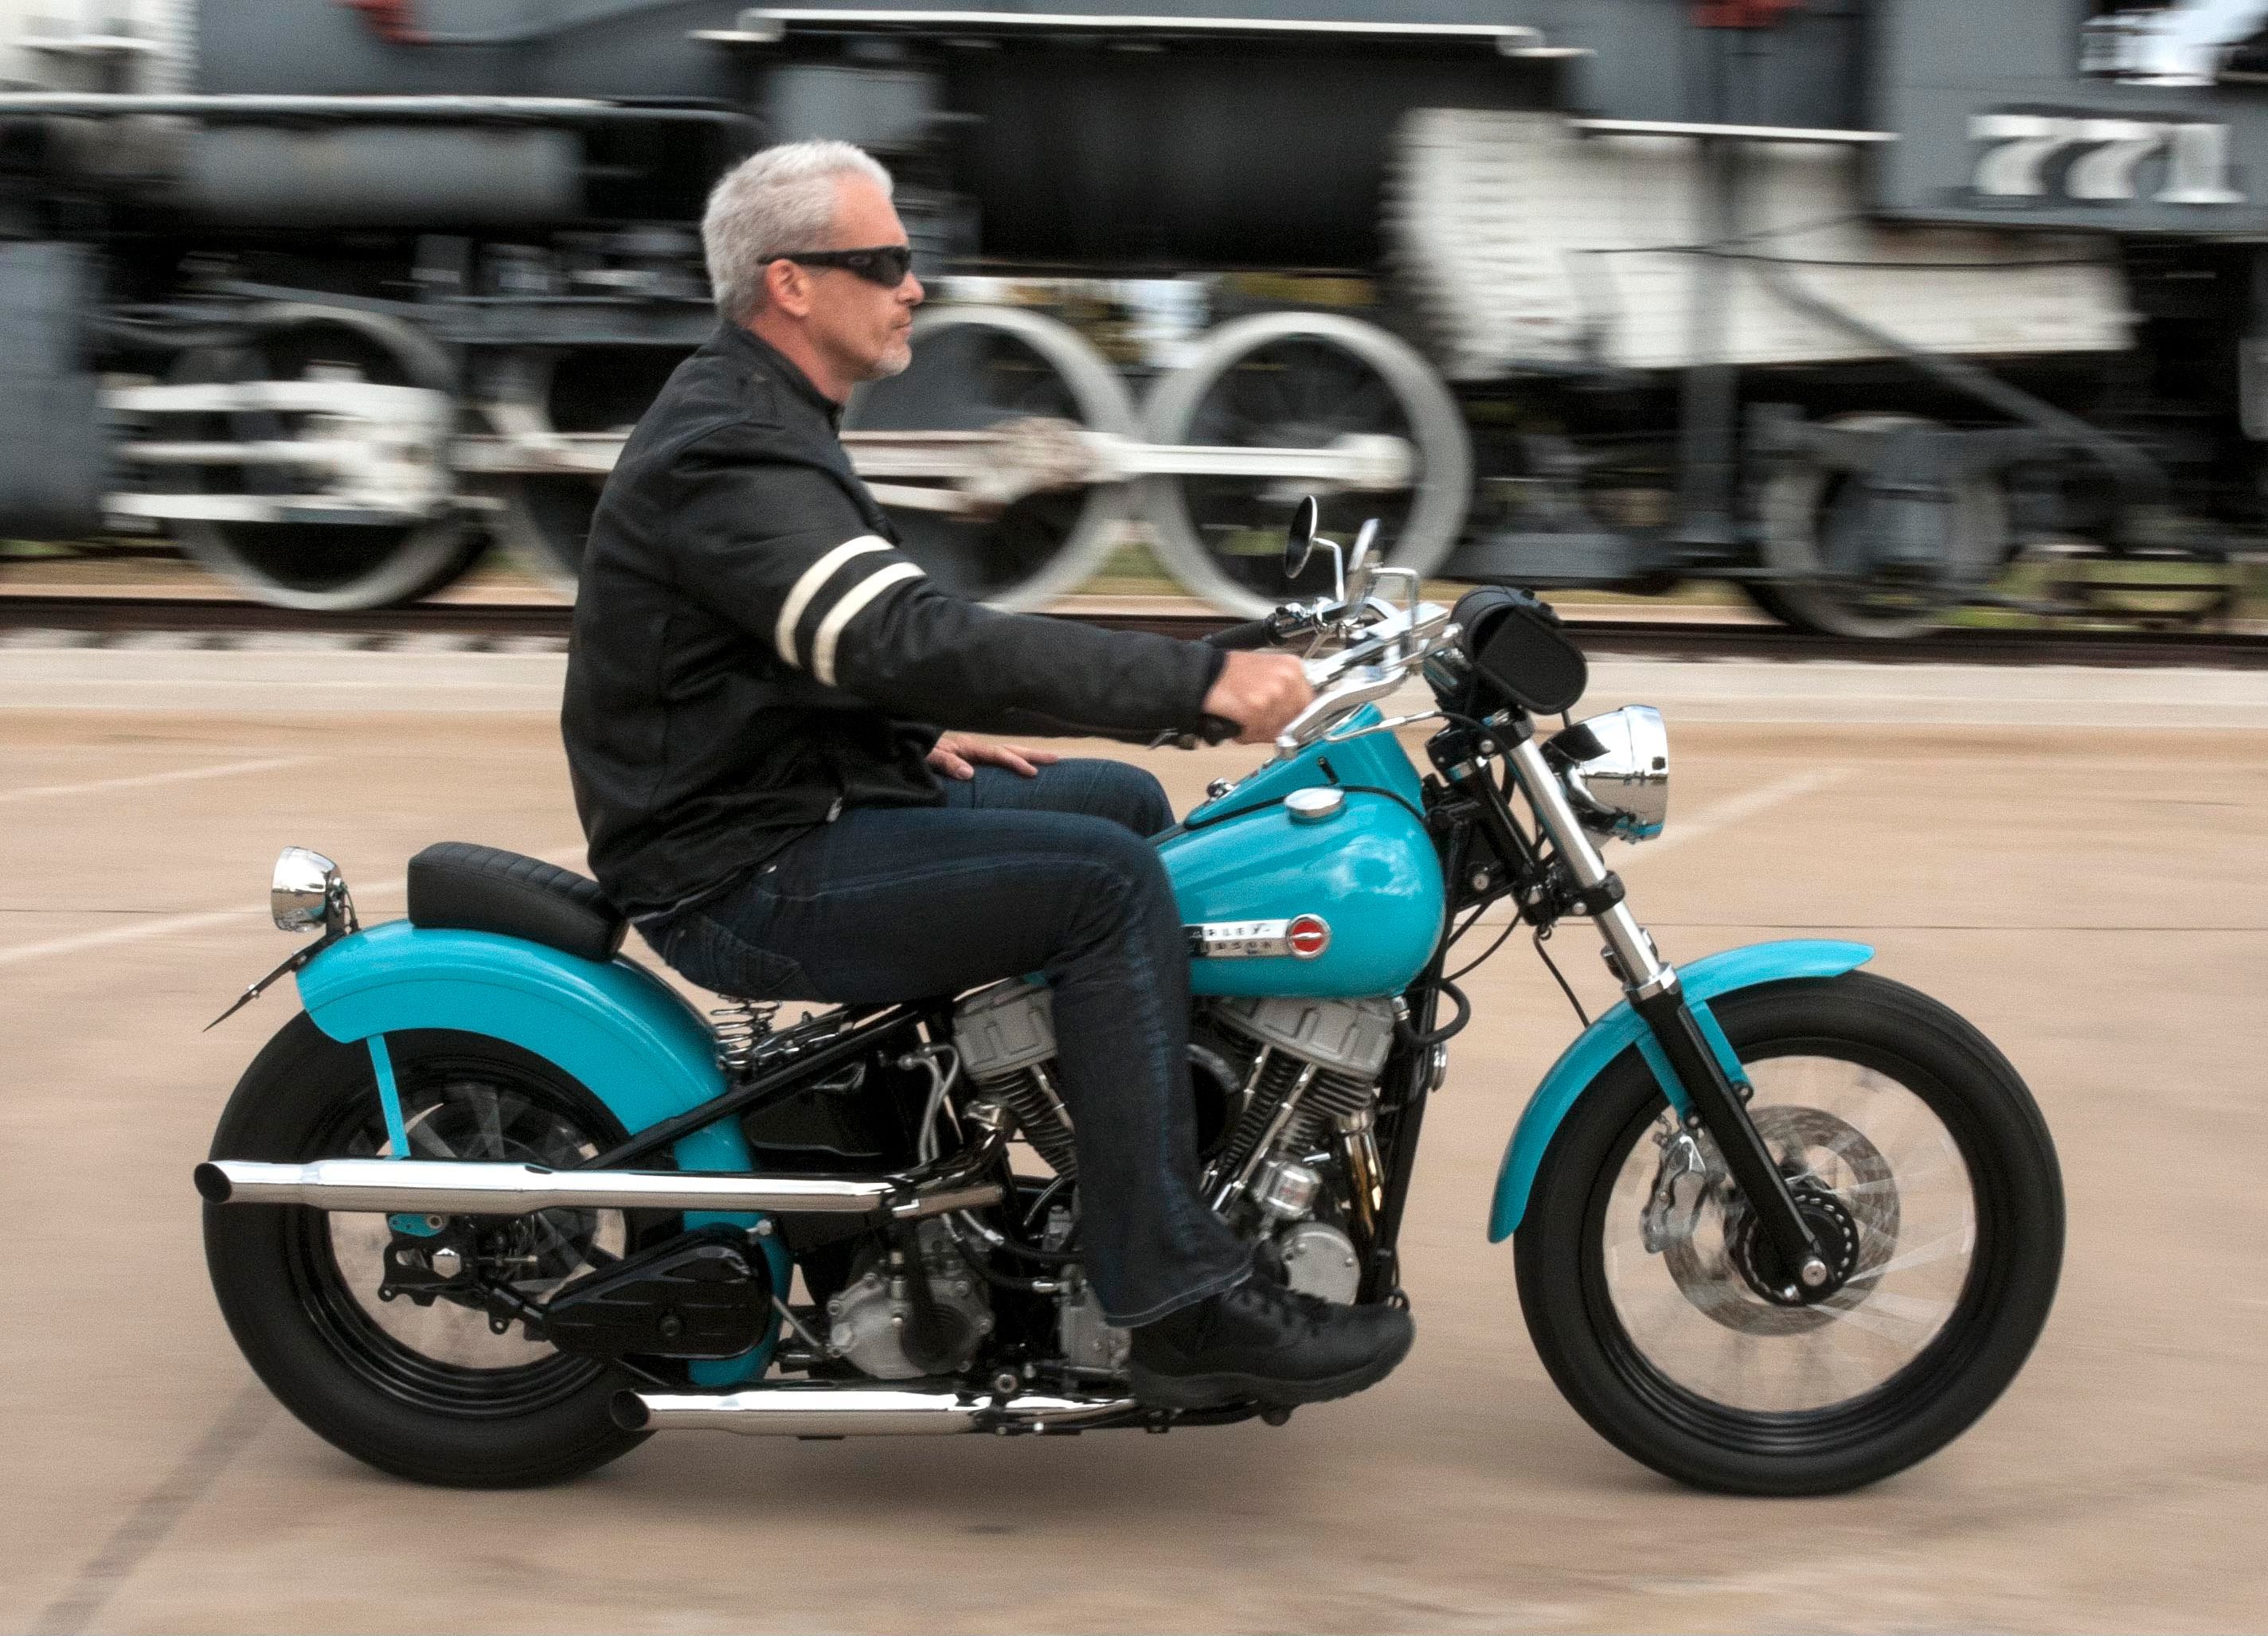
11. Test ride.
Finally, take your ride for a spin around the block. Pay close attention to how it handles, accelerates, and brakes, and ensure that all systems are functioning properly. A short, early season shakedownride is better than discovering a problem out on the open road. When you return, make any adjustments necessary before taking your bike on a longer ride or a busy road.
Ready to Ride
Bringing your bike out of winter storage is exciting, but it's crucial to approach the process with care and attention to detail. By following the steps outlined in this guide, you can ensure that your motorcycle is in top condition for the riding season ahead. From checking the air filter to testing electrical systems and performing a thorough pre-ride inspection, taking the time to prepare your bike properly can enhance safety, performance, and overall enjoyment on the road.
Need to replace some parts or get a professional option? Find an S&S Cycle dealer near you or shop our wide selection of motorcycle parts to get your bike in top shape for the season ahead.
You might also like: