 Last week I talked about Step 2 in our 4-Step program for better performance. That's where we added a set of S&S cams to the performance exhaust and intake installed in Step 1. If you still want more power, let’s go over Step 3.
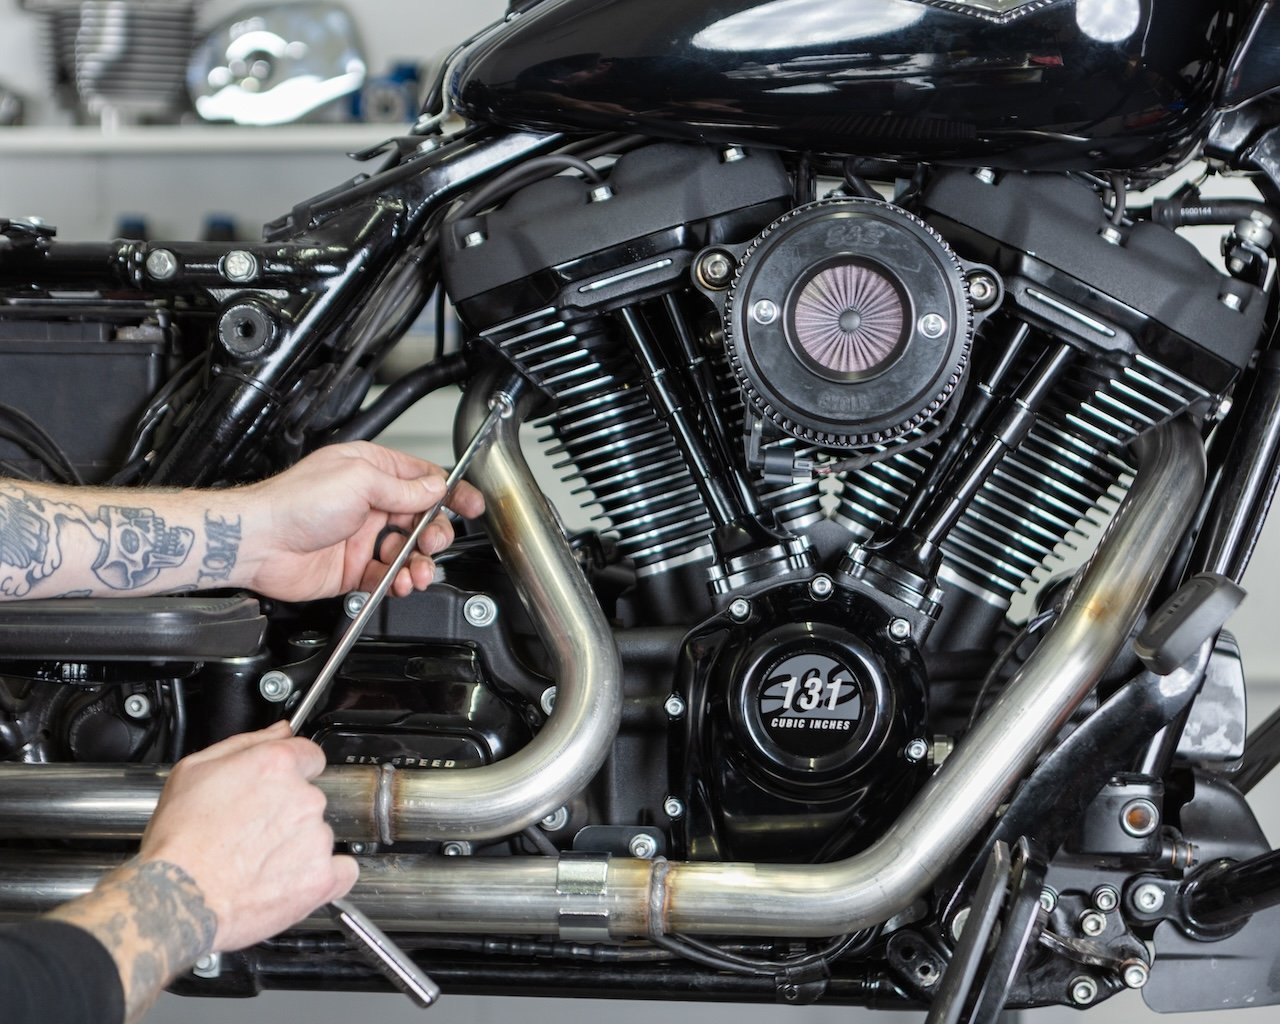
They say "There's no replacement for displacement." In Step 3, we increase the displacement of the engine with one of our "bolt-in" big bore top end kits. When I say "bolt-in" I mean that it can be installed in a stock engine with no machining and there is no need to split the crankcases. There is no need to remove the motor from the frame. It's no more involved than rebuilding a stock top end. That means that it won't cost you an arm and a leg to get it installed. Another thing that makes the 97" and 106" kits economical is that you can use your stock cylinder heads with very good results. For even better performance you can have your heads CNC ported here at S&S (Step 4), but I'm getting ahead of myself.
Although installation of an S&S big bore top end kit is relatively simple, I still recommend you have it installed by a qualified S&S dealer. The mechanical installation of the kit is pretty straight forward, but the increased displacement makes the need for fuel and ignition system tuning absolutely essential.
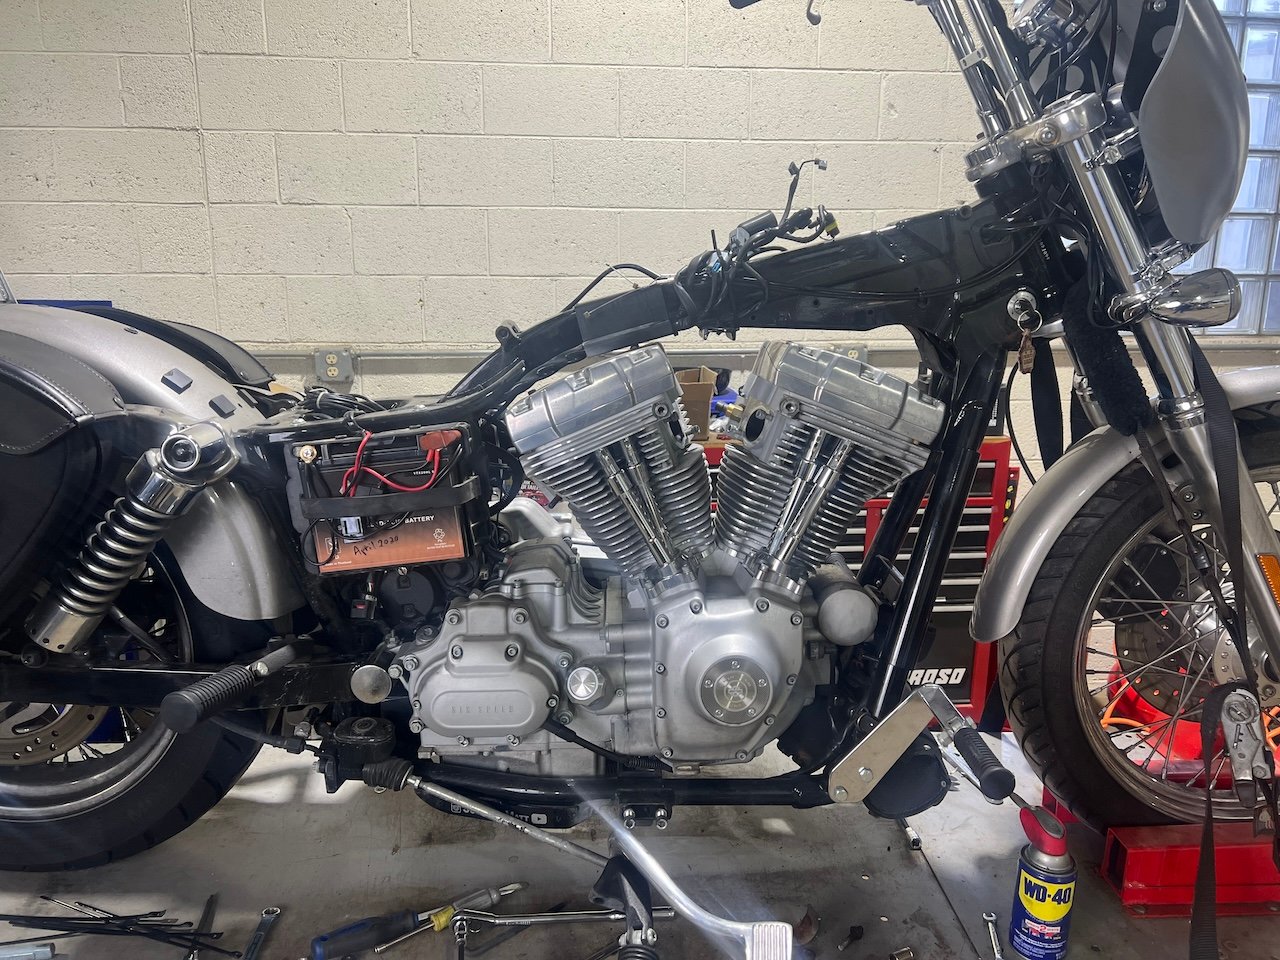
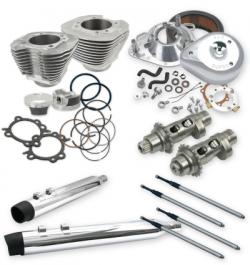 There are two different top end kits available, a 97" kit for 1999-2006 88 cubic inch engines, and a 106" kit for 2007-up 96 cubic inch engines. The kits for the two engine sizes are virtually identical. They both include 3.927" bore cylinders, pistons and gaskets. The difference is the deck height of the pistons that are supplied in each kit. The 97" kit includes pistons to match the 4" stroke of an 88" engine, and the 106" kit has pistons for the 4-3/8" stroke of a 96" engine. The difference in the resulting displacement of the kits is due to the stroke difference of the engines. Of course both kits are available in wrinkle black and silver powder coat finish that matches late model Harley-Davidson® engine paint for a very stock look. That's important if you want your bike to be a "sleeper hog".
When it comes to tuning, there are number of options available. For carbureted bikes it’s usually no more involved than the installation of a jet kit. Of course an S&S Super E carburetor is also a great way to upgrade a carbureted engine. For fuel injected bikes some installers prefer to use the Harley-Davidson® race tuner software to adjust the stock ECM. Others may use an aftermarket add-on controller like the DynoJet® Power Commander®. Another option is to replace the stock module with and aftermarket ECM like the S&S VFI module. The VFI module offers the benefit of closed loop oxygen sensor control for earlier engines and has the tuning range to handle anything from a stock Twin Cam 88® engine to our 160 cubic inch NHRA Prostock engine. Unfortunately, S&S doesn’t have a VFI module for 2008 and later baggers with electronic throttle control.
When increasing the displacement and compression ratio of an engine with a big bore kit it's important that what ever tuning solution you choose has the ability to adjust ignition timing.
The combination of the mufflers and air cleaner or tuned induction system from Step1, the cams from Step 2 and the increased displacement of a big bore kit in Step 3 provide a tremendous performance increase over stock. I think it's great that anything you purchase in the early steps ends up being used. You just build on what you already have to make something better.
So what if even this amount of power isn't enough? Are we at the end of the line? The answer is no! We can still have Step 4, which is to have your S&S dealer send your cylinder heads to S&S for CNC porting. I'll talk about that in my next blog. Until next week . . .